序言#
这是家用迷你主机服务搭建的第三篇,第一篇解决了设备选型,第二篇解决了一些刚需,这一篇首先解决一些遗漏的刚需以及一些好玩的东西。
距上一篇文章发布已经过去了 11 天。
前排提示,由于习惯 markdown 撰写文章,但微信排版以及防违规等策略还没研究好,如果内容不全 / 链接不显示的建议点击原文到博客原文查看。
折腾软路由会变得不幸,我已经不幸了。
不知道为什么原来设置 ikuai 的 dhcp 和原路由器的 dhcp 为同一个网段时,配合 op 会达到睡一觉起来就访问不了内网网段服务的效果,气得折腾了好几天然后发现自己其实不用重装只需要接上管理口重新排查即可。


pve 修改 CT 模版下载源#
参考文章修改
cp /usr/share/perl5/PVE/APLInfo.pm /usr/share/perl5/PVE/APLInfo.pm_back && sed -i 's|http://download.proxmox.com|https://mirrors.ustc.edu.cn/proxmox|g' /usr/share/perl5/PVE/APLInfo.pm && systemctl restart pvedaemon.service
这里就会变成国内源了,速度就会变快。
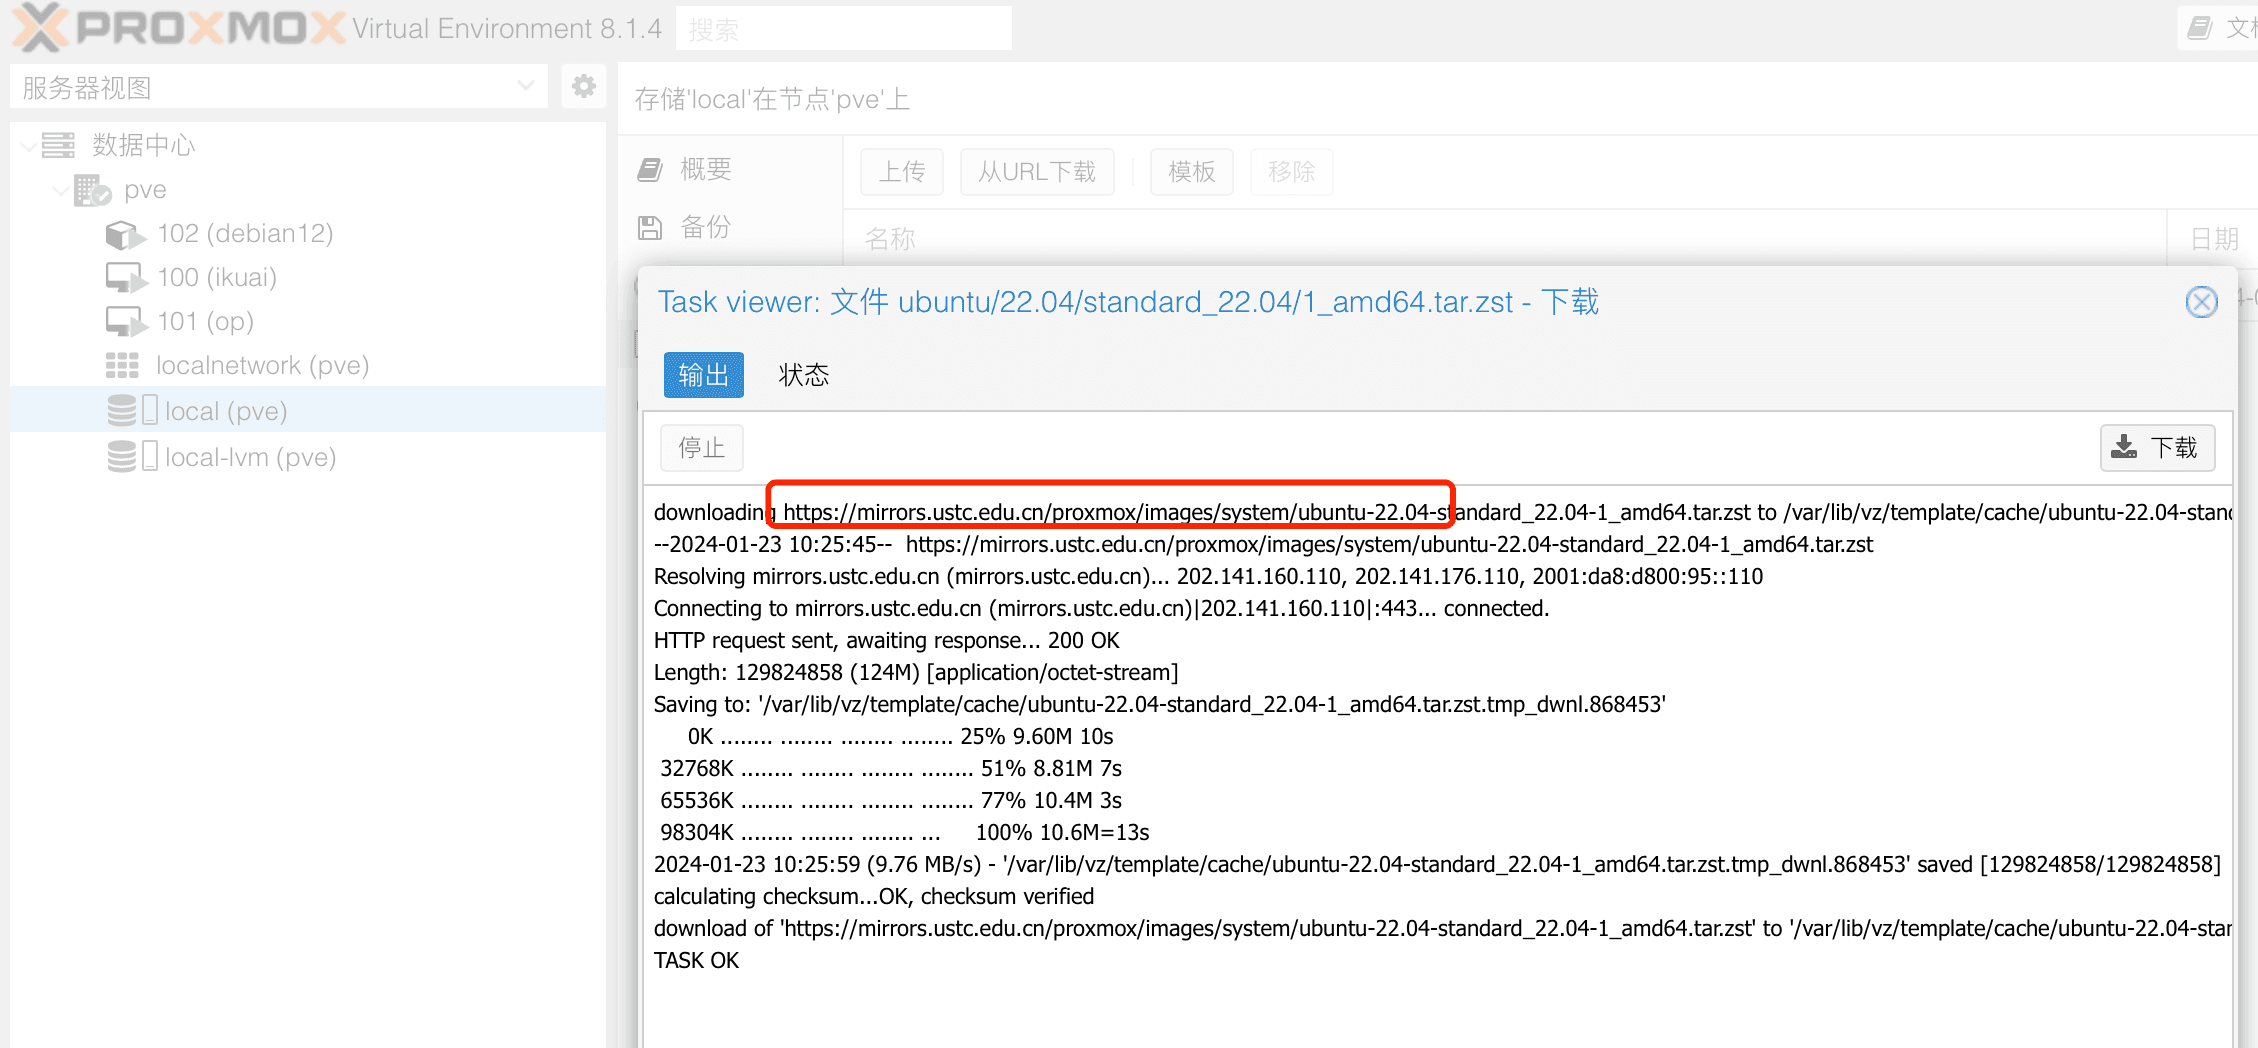
PVE 的 debian 及企业订阅源使用如下脚本一键替换,来自这篇文章
wget https://www.geekxw.top/jiaoben/yuan.sh -O yuan.sh && chmod +x yuan.sh && ./yuan.sh
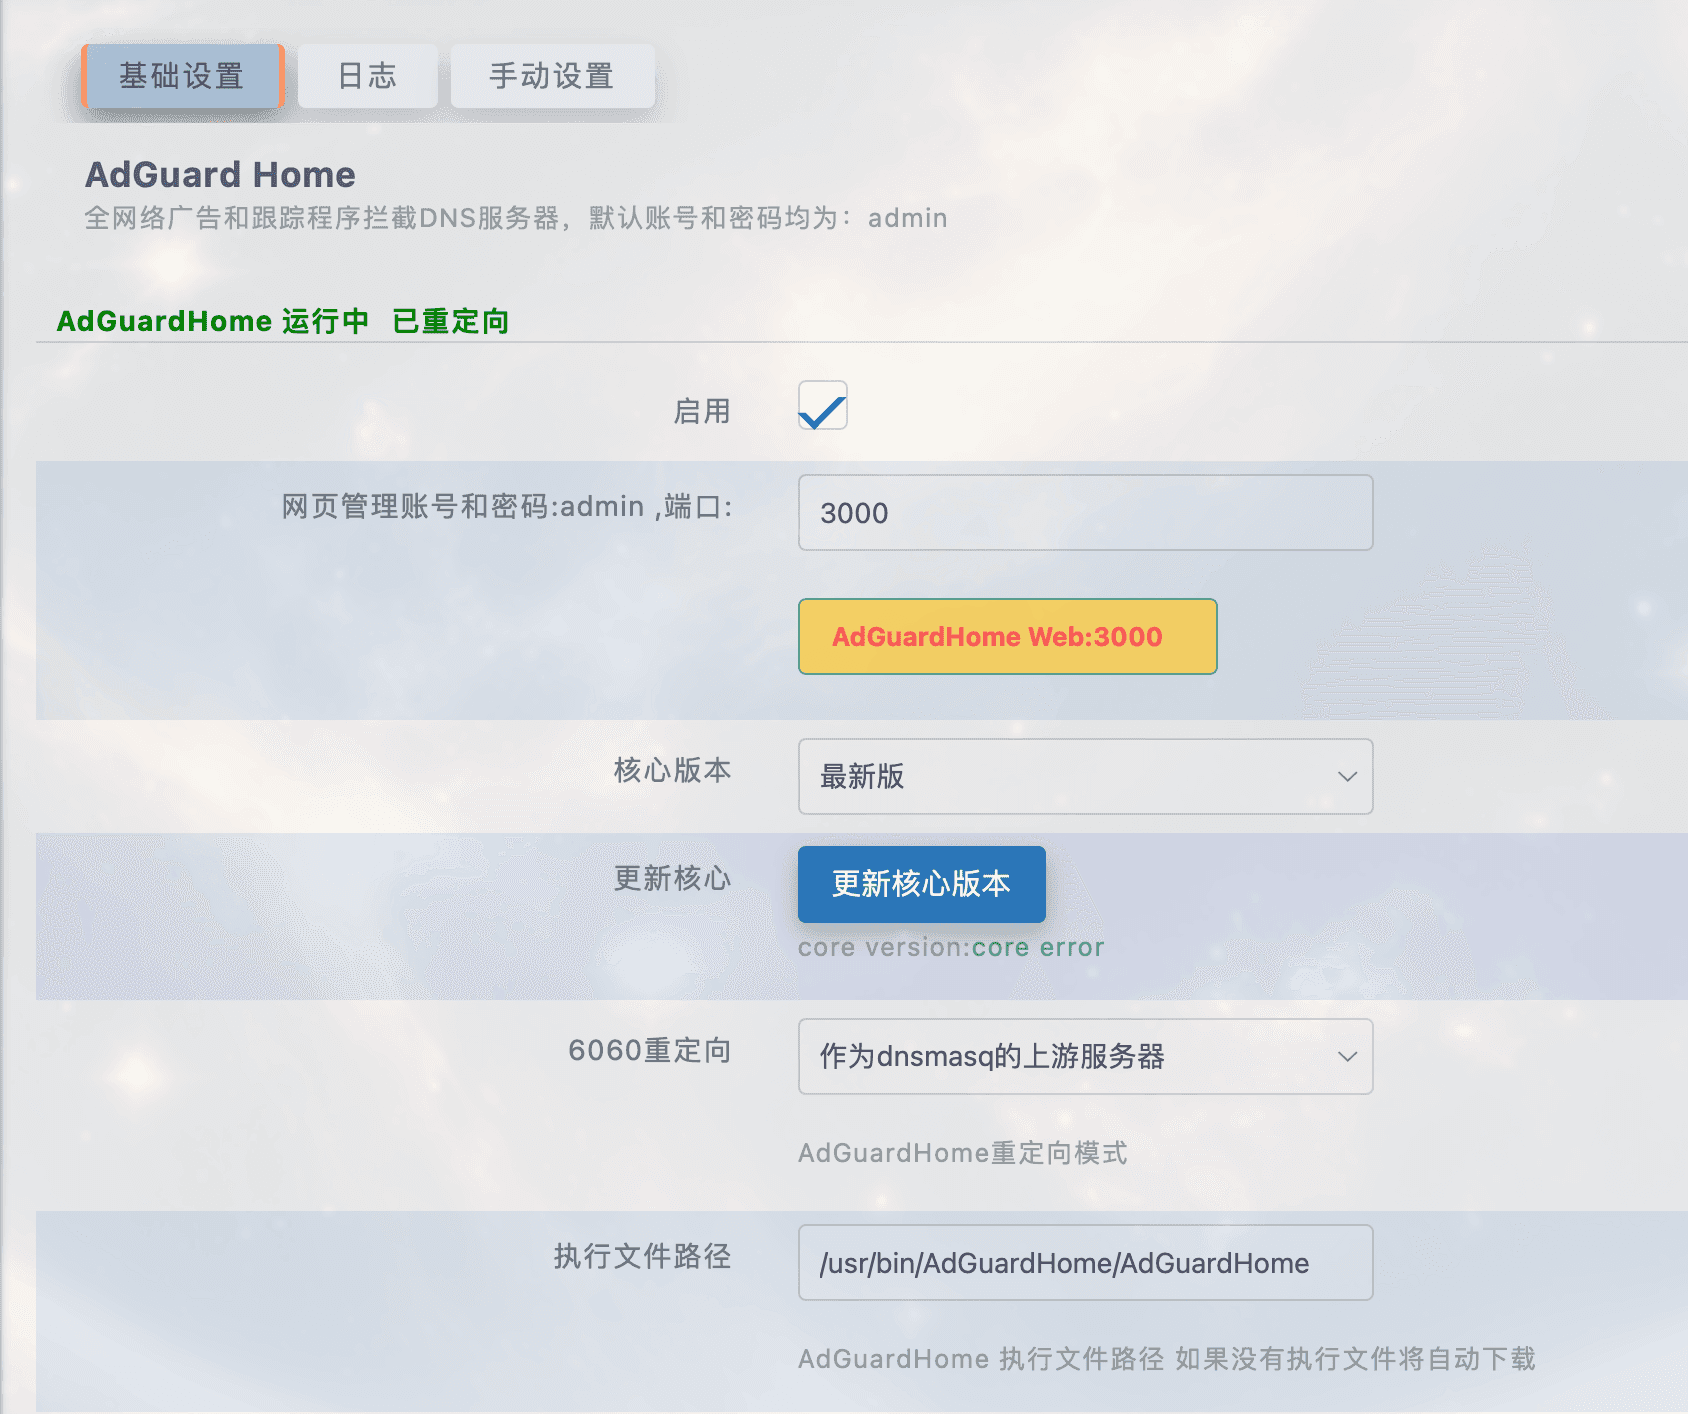
openwrt 中手工替换 adguard home 核心#
访问官方地址最新下载地址
下载 AdGuardHome_linux_amd64.tar.gz,放到执行文件路径,一般是/usr/bin/AdGuardHome/AdGuardHome
命令行将其权限改为 755,然后重启 openwrt

即使可能还是显示 core error,已经可以登录正常启用了
1panel 第三方商店#
有非常多的第三方应用
git clone -b localApps https://github.com/okxlin/appstore /opt/1panel/resource/apps/local/appstore-localApps

cp -rf /opt/1panel/resource/apps/local/appstore-localApps/apps/* /opt/1panel/resource/apps/local/

rm -r /opt/1panel/resource/apps/local/appstore-localApps
点击更新应用列表,就会发现应用列表变为 280 + 应用了。
DDNSTO 内网映射#
有些服务为了应急或者其他原因,需要公网访问。
只是需要公网访问的话,可以使用 DDNSTO 免费服务套餐,可以映射局域网内 5 个 ip + 端口的形式。
遗憾的是 / 斜杠后不能接任何地址,所以对于 1panel 等开启了安全面板地址的,只能自己拼接并书签保存下地址了,其他的服务不用记具体域名,直接到 DDNSTO 登陆控制台即可访问。
本来以为 DDNSTO 可以通过签到脚本来实现自动续费 7 天免费套餐,似乎不行?
也可以使用 ddns-go 来实现动态映射,1panel 中添加第三方商店即可使用。
rss 类#
先总结,我
- 使用 RSSHUB+rsspush 实现 Github 项目监测 / 自己感兴趣的趋势变动通知
- 使用 READWISE 进行 RSS/Newsletter 类 /epub 电子书阅读标记
- 使用 AutoBangumi 监测番剧 RSS 变动联动 qBittorrent 等进行自动追番(不常用)
RSSHUB#
RSSHub 是一个开源、简单易用、易于扩展的 RSS 生成器,可以给任何奇奇怪怪的内容生成 RSS 订阅源。RSSHub 借助于开源社区的力量快速发展中,目前已适配数百家网站的上千项内容
RSSHUB 是DIY 神的一个大项目,另一个大项目Xlog也是本篇文章的首发地。感兴趣的朋友可以去看看,都是些活波的年轻人,也有硬实力的大佬,主要是页面好看不用自己搭服务器,看的人也比较多,社区氛围比较好。DIY 神看到请打款 5 毛谢谢
之前按照RSSHUB官网教程中的其中一种方法,搭建了免费的pikapods。
遗憾的是 pikapods 每月免费额度刚好比起最小配置少了一点,又或许 Serveless 服务都是这样故意为之。
自己搭也可以,直接使用官方的也可以,频率别太高。
我使用 RSSHUB 主要能实现一些特殊动态的监控,比如某些 github 项目的更新以及新的开源趋势等等,可以查看我的gist。
配合 Server 酱作者 easychen 的一个免费开源项目 rsspush 即可实现推送。
rsspush 搭建好后页面上是没有推送到其他路径的选项的,但在 github 的 readme 上可以找到如下内容。
2022.09.04.09.28+ 以后的镜像支持推送到 web hook。如果 Sendkey 以 http 开头,则被识别为一个 webhook。
我自己使用的是 ios 上的 bark 这款软件,自带的官方域名就已经完全满足个人使用,至此就可以完成 rsshub+rsspush+bark 自定义的内容监控及时推送。
也可以根据 rsspush 上 readme 的介绍使用apprise,可以推送到
上百个通道,包括 Telegram, Discord, Slack, Amazon SNS, Gotify 等。
apprise:raw -i html tgram://botid/chatid
READWISE#
阅读类 RSS 我已经稳定使用 readwise 推出的read readwise很久了。
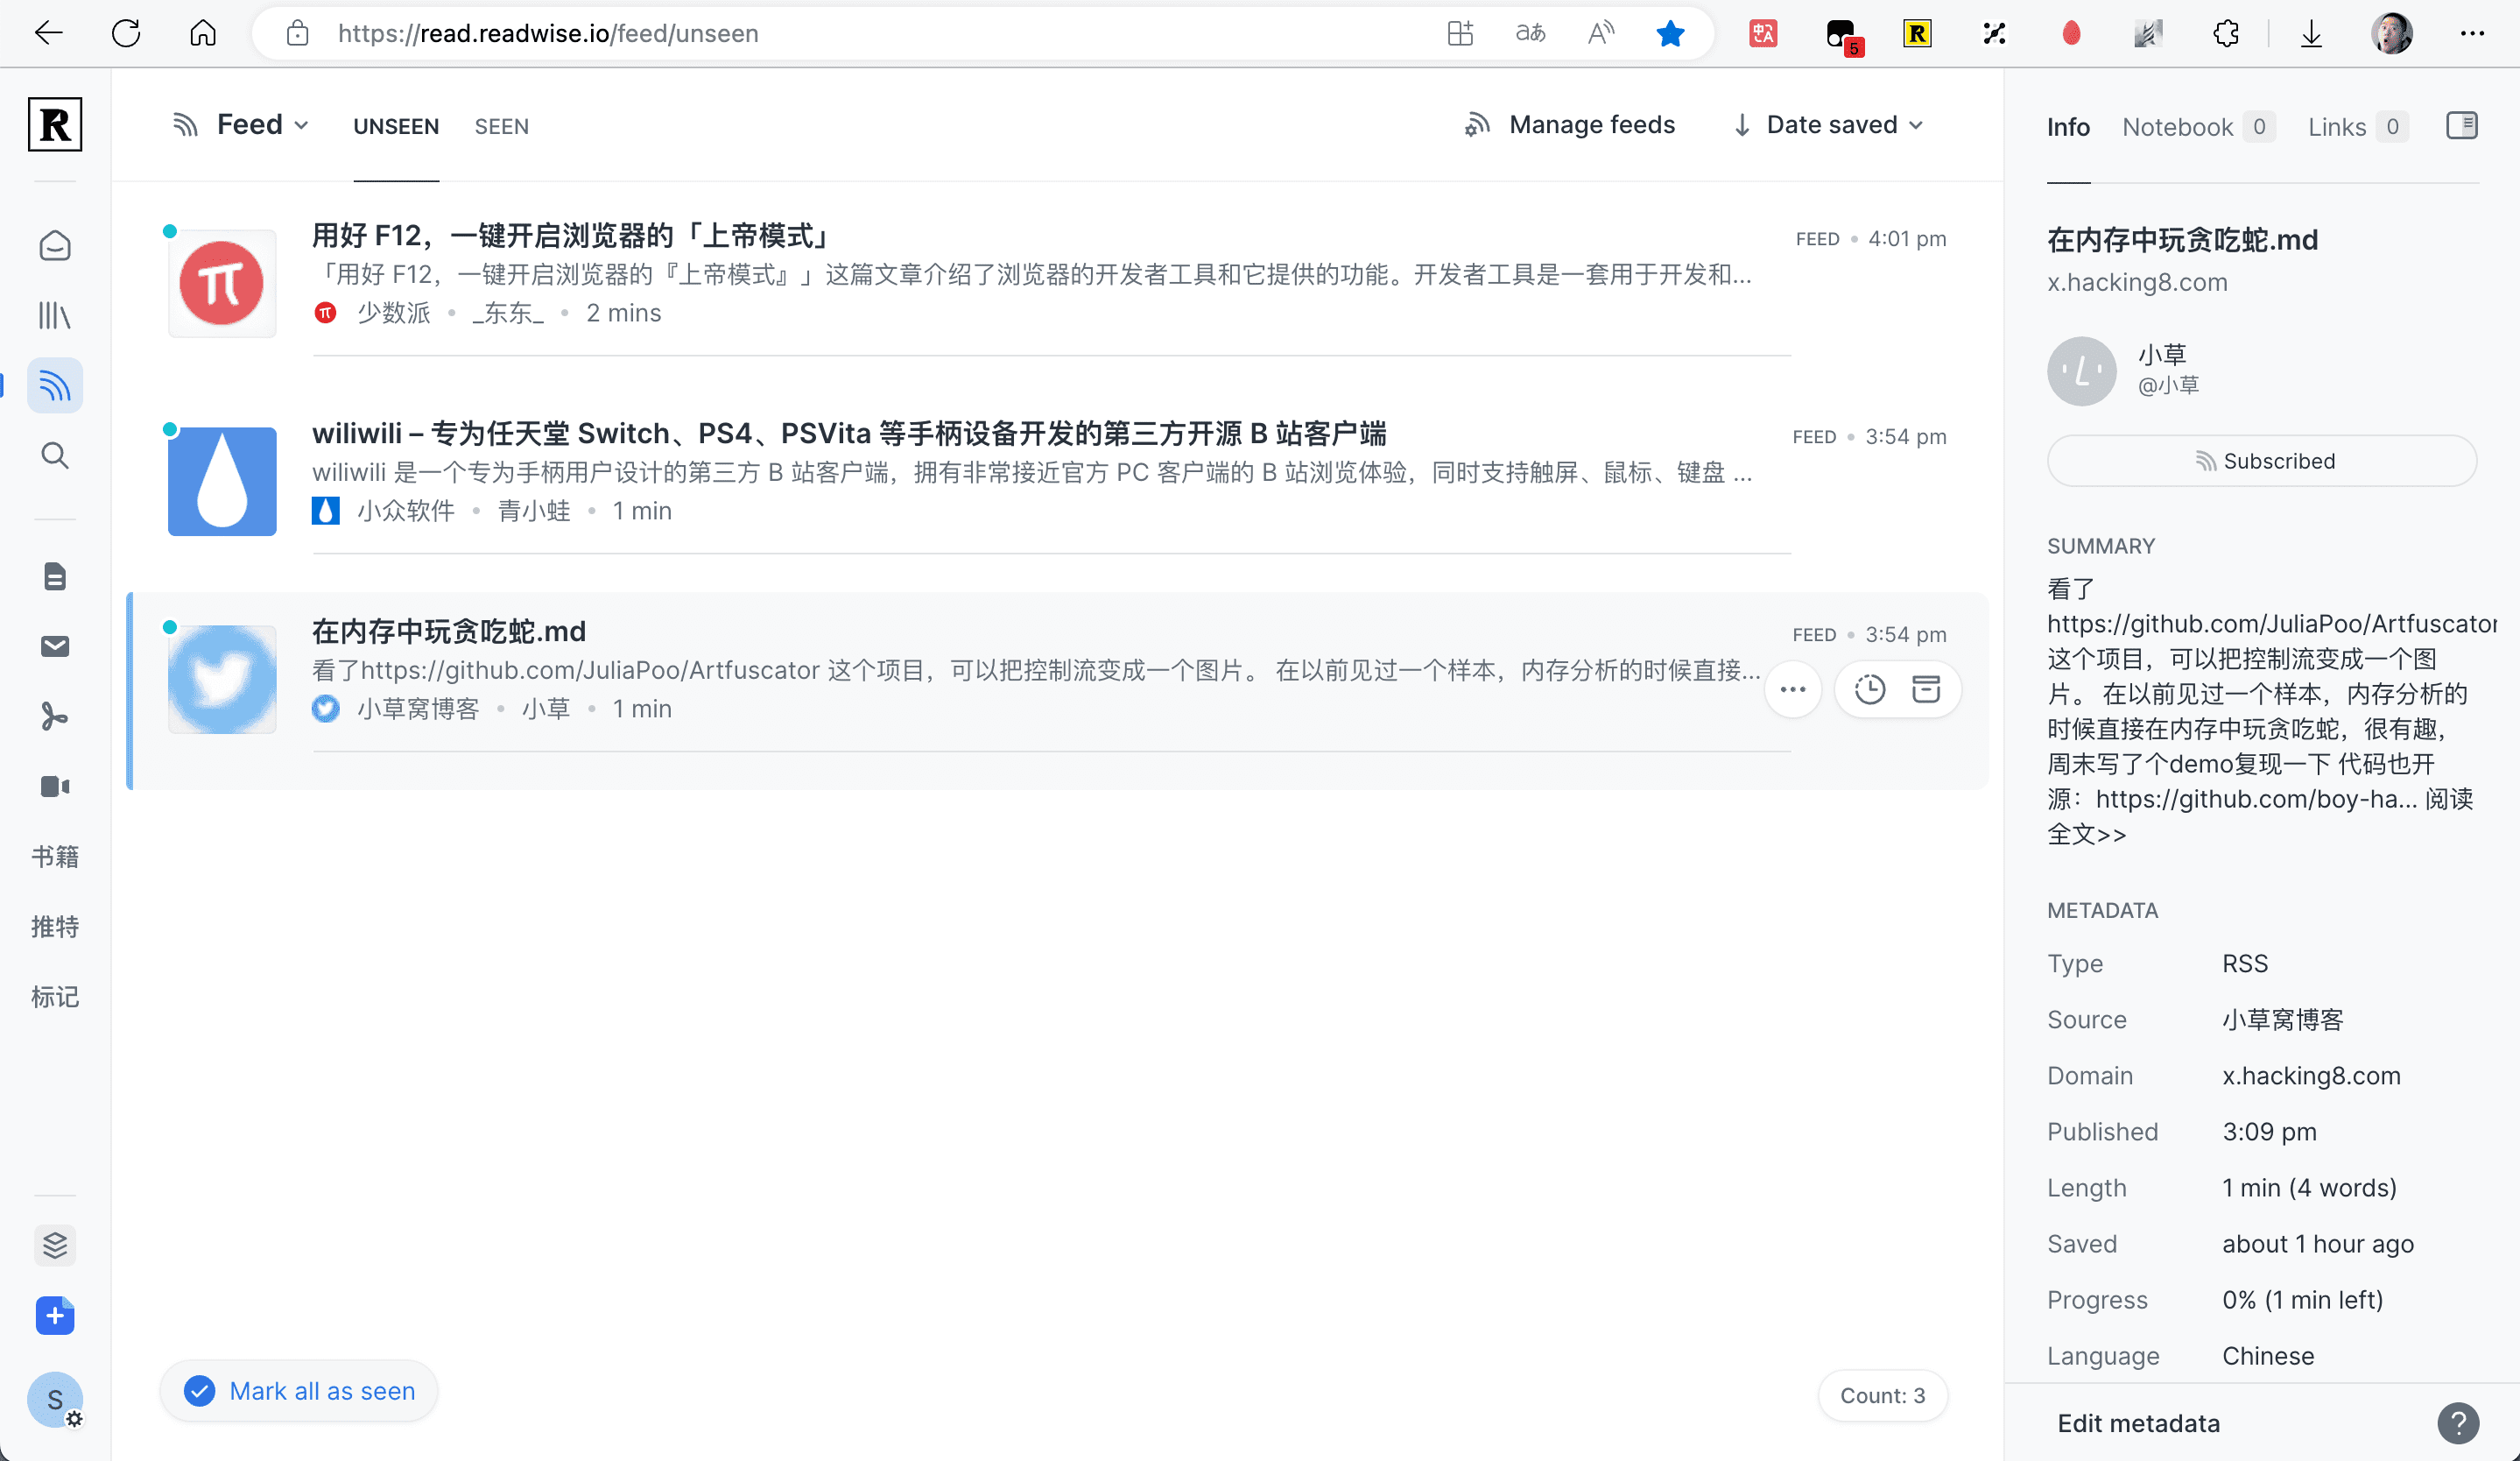
可以申请发展中国家 / 学生优惠实现半价,半价后每月付费 4.49 刀,是我的订阅类中单月费用最高的服务,但我认为物有所值。
所有 RSS/Newsletter 类 /epub 电子书阅读都用它实现,配合官方浏览器插件也可以随便剪切内容进行标注。
AutoBangumi 搭建自动追番#
目前还没有摸得很透彻。
AutoBangumi 是基于 RSS 的全自动追番整理下载工具。只需要在 Mikan Project 等网站上订阅番剧,就可以全自动追番。 并且整理完成的名称和目录可以直接被 Plex、Jellyfin 等媒体库软件识别,无需二次刮削。
按照官方教程获取搭建参数。
此处注意不要直接在命令行 Docker 启动,由于 1panel 官方和第三方应用商店都还没有此应用,我们在 1panel 的容器界面手动创建。
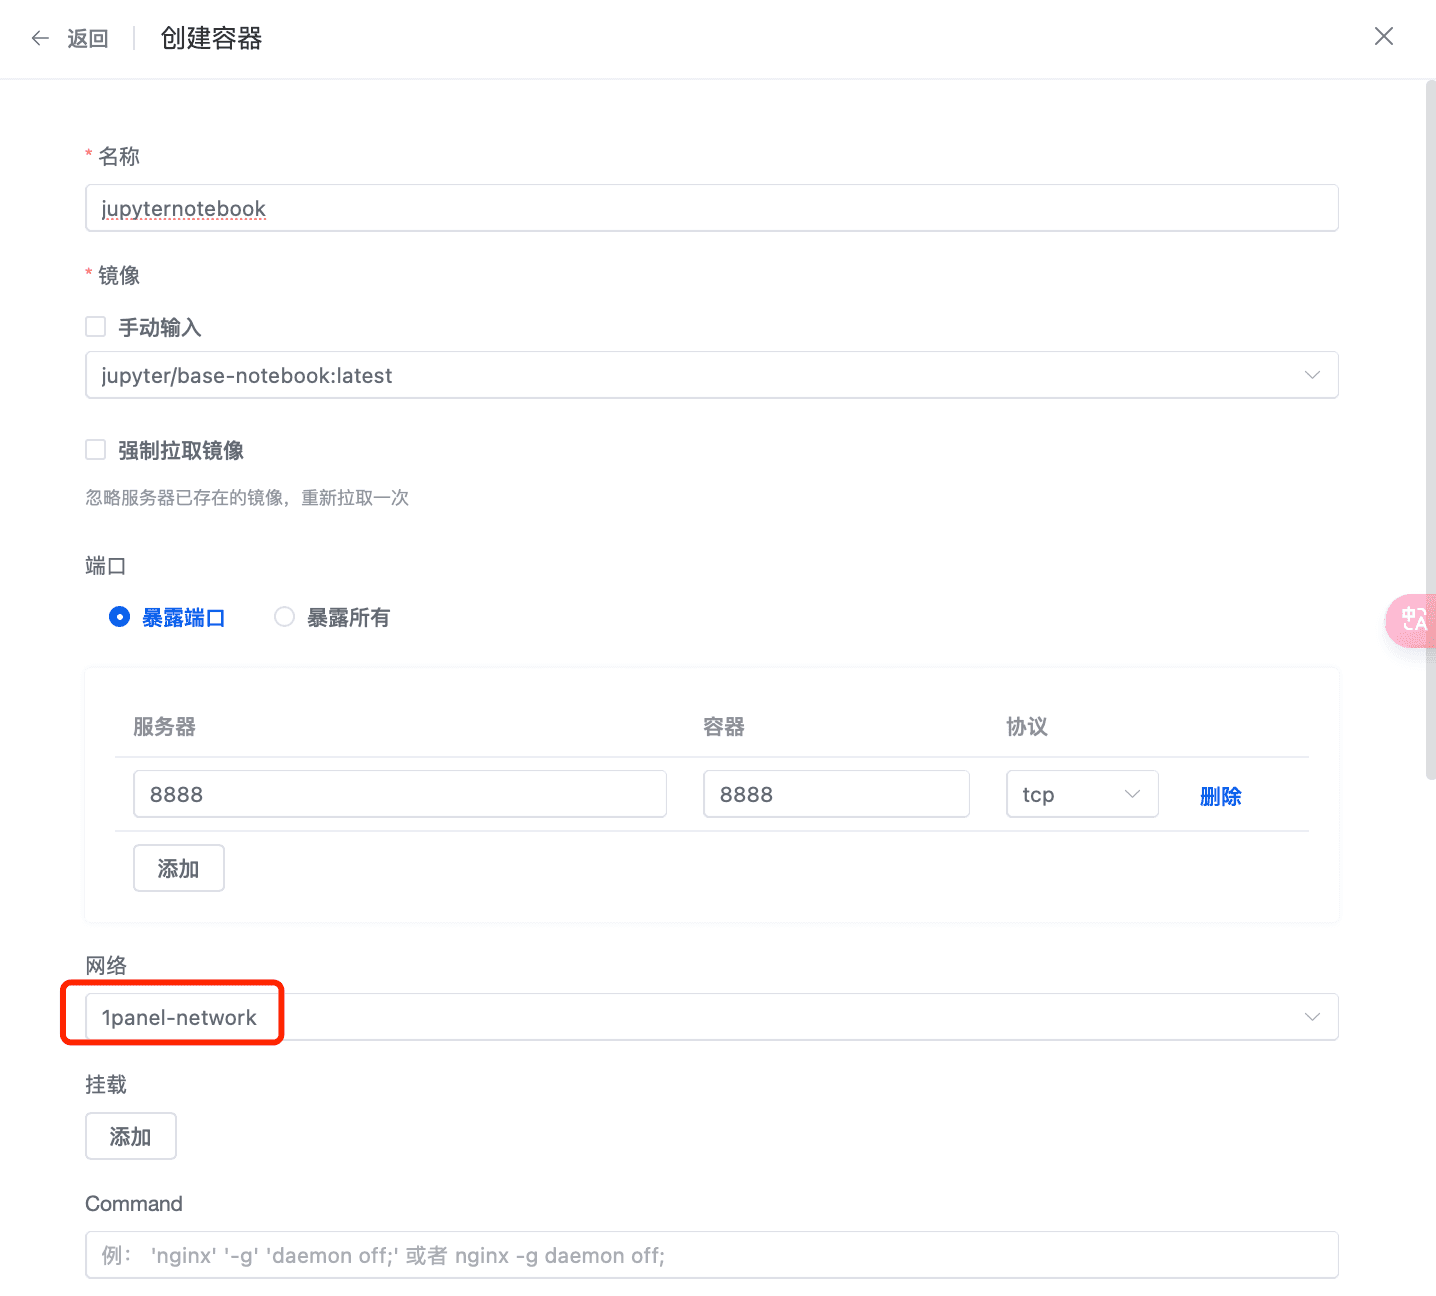
注意一定选择网络为 1panel-network,不然使用主机 ip 地址是连接不上的。
同理非商城安装的所有应用,如果网络要互通,最好手动加入 1panel-network
创建后使用内网地址和主机 ip 地址就都可以了,内网 ip 可以直接在容器界面直接看到。

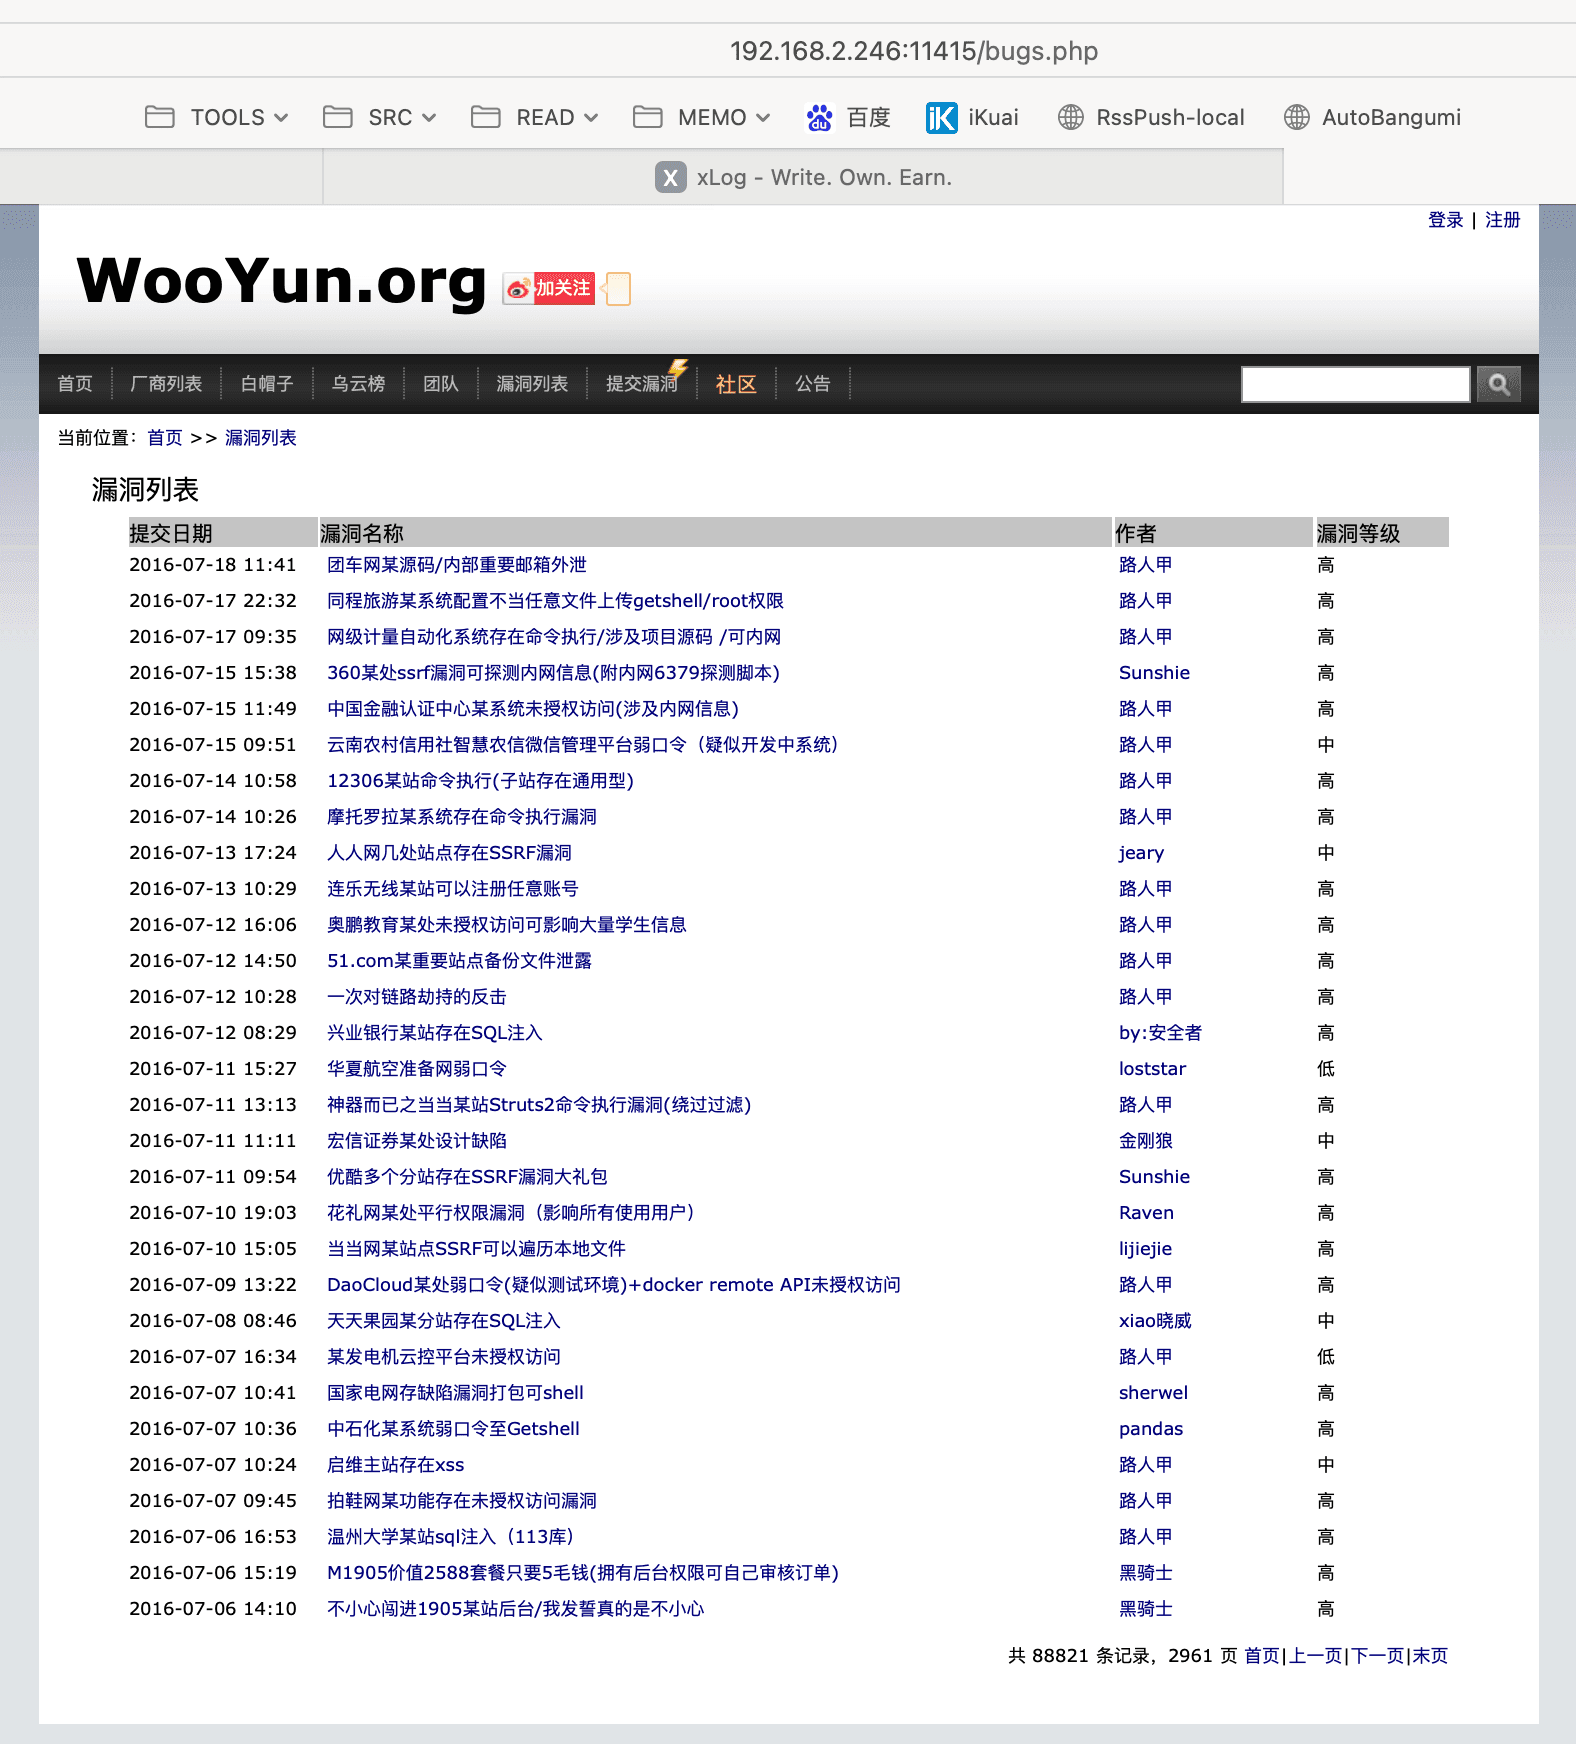
搭建乌云漏洞库#
docker run --name wooyun -p 11415:80 --restart=always -dit v7hinc/wooyun /bin/bash
搭建 Jupyter Lab#
先拉取下镜像:docker pull jupyter/base-notebook
为了保证网络互通,在 1panel 页面上进行选择部署
docker exec -it jupyternotebook /bin/bash -c 'jupyter server list'
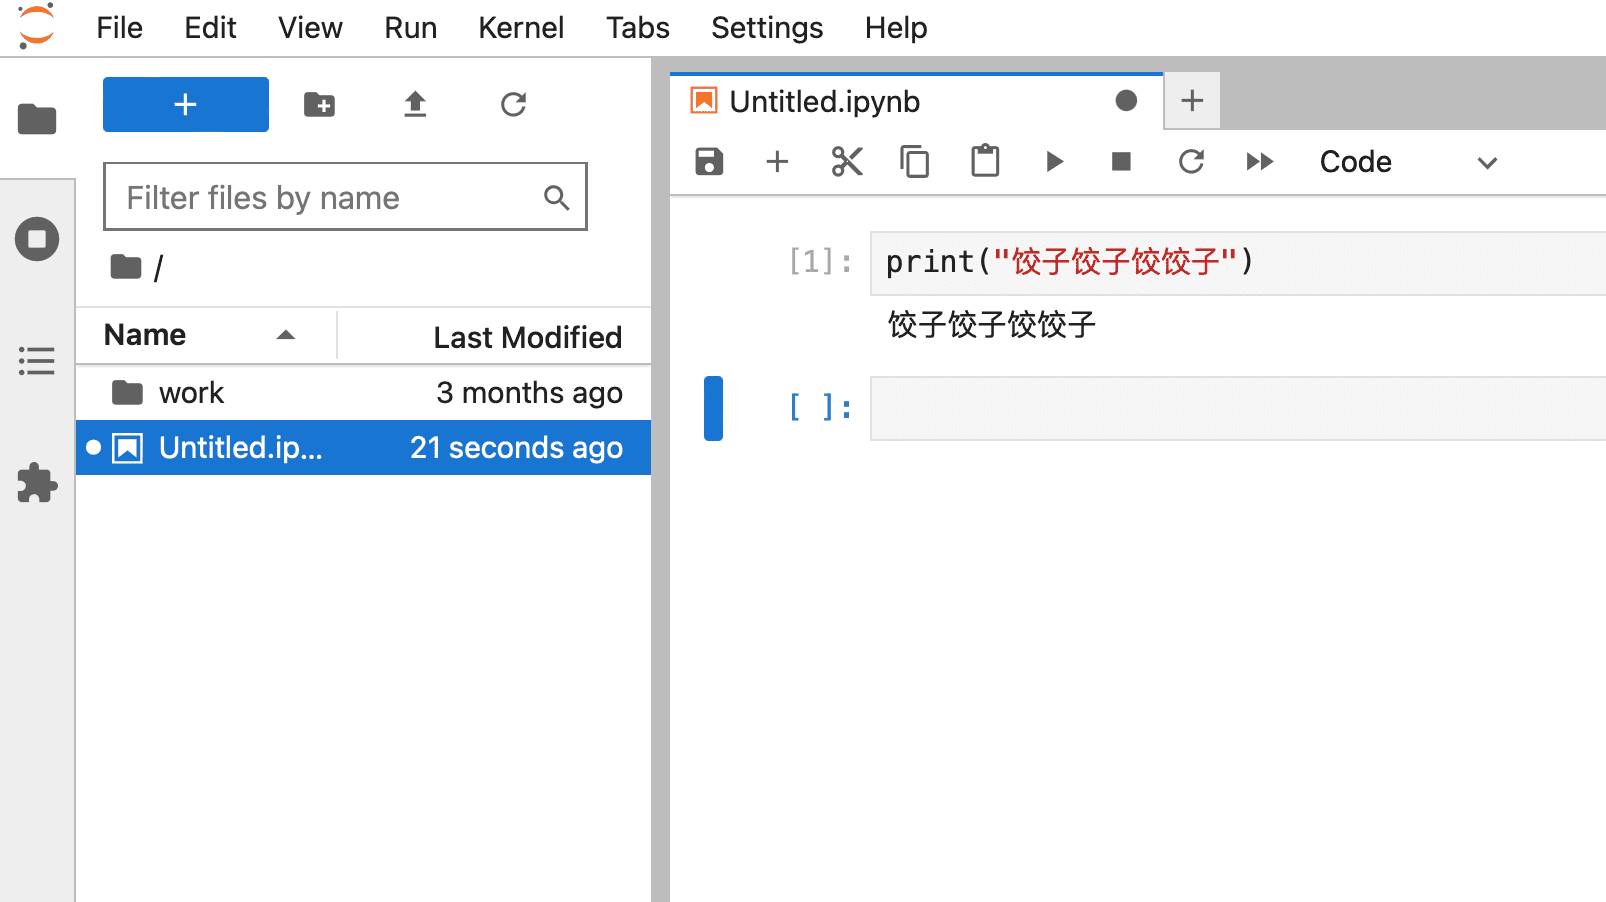
即可打印 token,填入登录。
一些搭建过程中的知识点#
- switch 的代理地址设置为 openwrt 地址 / 或者直接把 mac 固定在世界互通网段,延迟很大基本用不成。
- pve 8.1 中 debian 12 lxc ct 模版一键允许 ssh 登录命令
sed -i 's/^#PermitRootLogin prohibit-password/PermitRootLogin yes/' /etc/ssh/sshd_config && sed -i 's/^#PasswordAuthentication yes/PasswordAuthentication yes/' /etc/ssh/sshd_config && systemctl restart ssh
修改时区,dpkg-reconfigure tzdata选择 Asia、Shanghai
在 centos 8 lxc ct 模版中开启允许 ssh 登录
mv /etc/yum.repos.d/CentOS-* /tmp/ && \
cat <<EOF > /etc/yum.repos.d/CentOS-Vault.repo
[BaseOS]
name=CentOS-8 - Base
baseurl=https://vault.centos.org/8.5.2111/BaseOS/x86_64/os/
gpgcheck=1
gpgkey=file:///etc/pki/rpm-gpg/RPM-GPG-KEY-centosofficial

[AppStream]
name=CentOS-8 - AppStream
baseurl=https://vault.centos.org/8.5.2111/AppStream/x86_64/os/
gpgcheck=1
gpgkey=file:///etc/pki/rpm-gpg/RPM-GPG-KEY-centosofficial
EOF
dnf clean all && \
dnf makecache && \
dnf install -y openssh-server firewalld && \
sed -i 's/^#PermitRootLogin prohibit-password/PermitRootLogin yes/' /etc/ssh/sshd_config && \
sed -i 's/^PasswordAuthentication no/PasswordAuthentication yes/' /etc/ssh/sshd_config && \
dnf install -y firewalld && \
systemctl enable --now sshd firewalld
在 centos 9 lxc ct 模版中开启允许 ssh 登录
dnf install -y openssh-server && sed -i 's/^#PermitRootLogin prohibit-password/PermitRootLogin yes/' /etc/ssh/sshd_config && sed -i 's/PasswordAuthentication no/PasswordAuthentication yes/' /etc/ssh/sshd_config && systemctl restart sshd
就这样又混了一篇