基础知识介绍#
- BadUSB :盗取你的信息、破坏你的电脑,反正就是很坏就对了;
- HID:Human Interface Devices 人机交互设备,比如键盘、鼠标就是 HID
- 用 HID 攻击有什么好处:** 可以伪装成外设躲避杀毒软件的查杀,并可以提前制作好,实现自动化操作 **
- Teensy++ 2.0:一个非常小而且功能完整的单片机开发系统
- Arduino:一款便捷灵活、方便上手的开源电子原型平台 (让你写插入 USB 后执行的操作代码的)
材料准备#
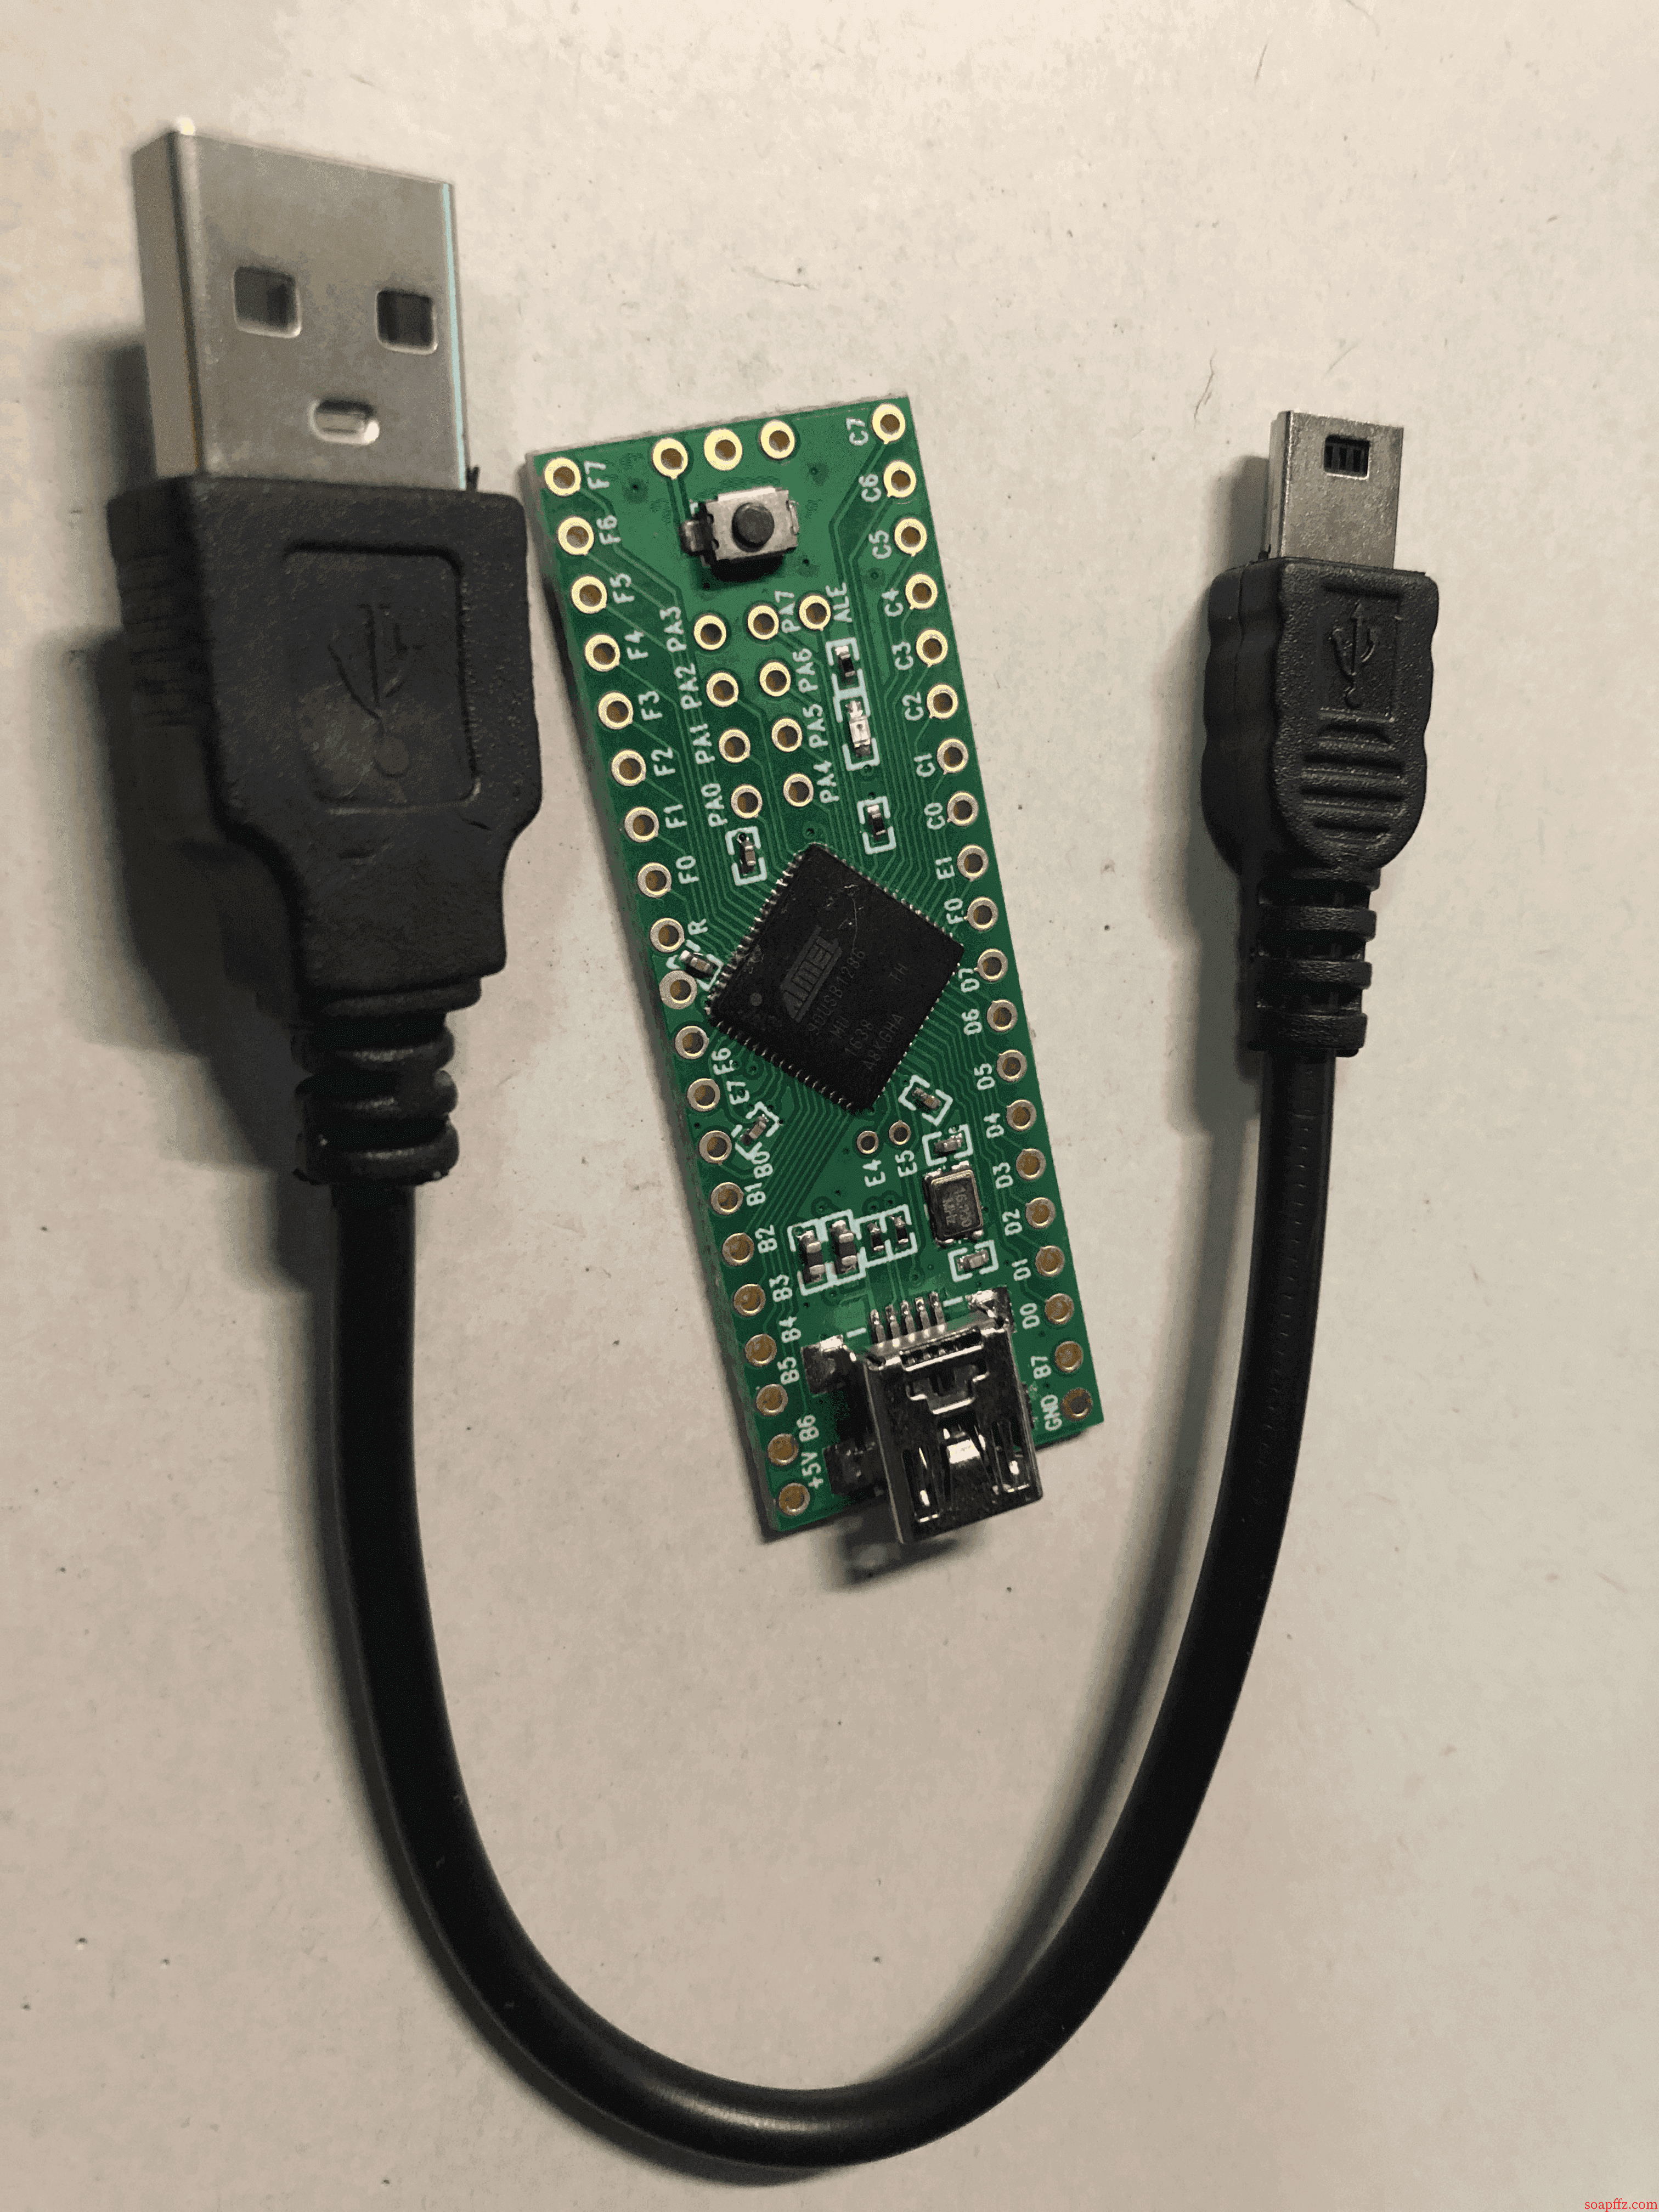
一块 Teensy ++ 2.0 板子:#
淘宝搜索 teensy,注意买有 ++2.0 字样的,我买的时候 32.1RMB
- 好像有更好的板子,为什么不买橡皮鸭 (rubber ducky)、或者 teensy 3.6 之类的:
因为穷入门当然是从便宜的开始啦
实物拍摄:
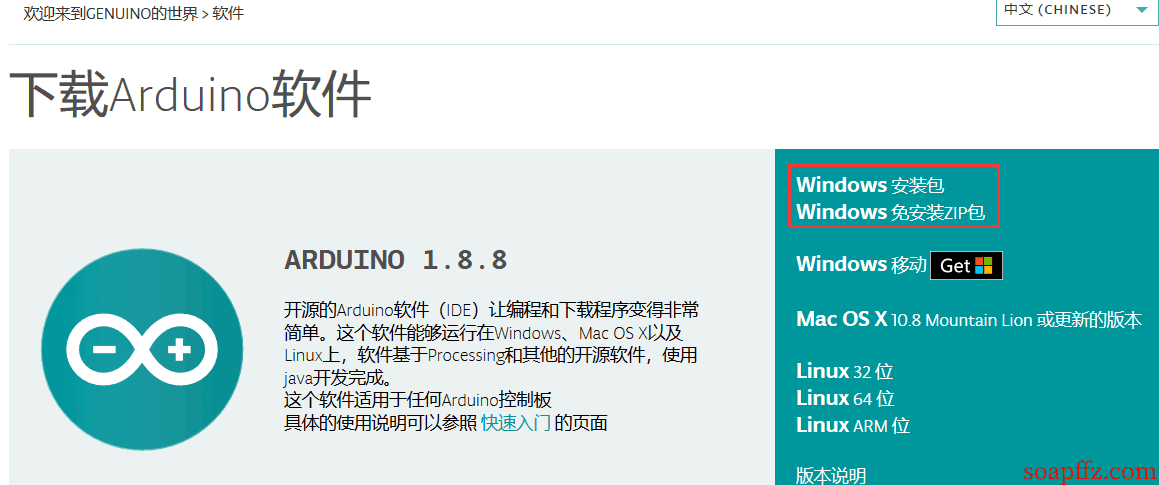
arduino#
下载地址:https://www.arduino.cc/en/Main/Software?setlang=cn
我这里下载的是 Windows 的 zip 版:
解压到了 D 盘,重命名为 arduino,打开 arduino.exe,初始状态是一个空模板:
void setup() {
  // put your setup code here, to run once:

}

void loop() {
  // put your main code here, to run repeatedly:

}
这两个函数在后面写所有的程序都要加上,即使其中一个函数的内容为空,我们先看一下工具栏:

Teensyduino 插件#
不安装不支持 teensy 开发板,下载地址:http://www.pjrc.com/teensy/td_download.html
下载之后安装,下一步下一步,到选择目录这里,选择之前 arduino 的目录,我放在了 D:\arduino:

下一步直接 next:

然后 install 即可,我们安装之后再来查看工具栏:

此时已经支持 Teensy 开发板了,还多了USB Type等几个选项,我们选择开发板为我们的Teensy+= 2.0:

选择端口为仅有的那个端口:

然后点击取得开发板信息:

后面的程序编译之前你都要看一眼是不是这样的配置:

Adruino 基本语法及函数介绍#
常用键盘函数:
#include //包含键盘模块的头文件

Keyboard.begin(); //开启键盘通信

Keyboard.press(); //按下某个键

Keyboard.release();//释放某个键

Keyboard.println(); //输入字符

Keyboard.end(); //结束键盘通信
press 之后一定要 release
常用语句:
delay(500);//延时500ms

Keyboard.press(KEY_CAPS_LOCK);//按下大写键

Keyboard.press(KEY_LEFT_GUI);//按下左边win键

Keyboard.press(KEY_RETURN);//回车
第一个程序#
第一个程序当然是Hello World!
插上 Teensy,打开 arduino,养成好习惯,ctrl+s 保存在桌面,就叫做 demo 吧,然后写入以下代码:
void setup() {
  delay(500);
  Keyboard.begin();
  delay(1000);
  Keyboard.press(KEY_LEFT_GUI);
  delay(500);
  Keyboard.press('r');
  delay(500);
  Keyboard.release(KEY_LEFT_GUI);
  Keyboard.release('r');
  delay(500);
  Keyboard.println("cmd");
  Keyboard.press(KEY_RETURN);
  Keyboard.release(KEY_RETURN);
  delay(500);
  Keyboard.print("you are hacked by soapffz");
  delay(500);
}
void loop() {}
确认工具栏里面都像上面一样设置好之后,点击左上角的勾勾,编译完成后会在下面提示编译成功并输出存储空间等信息,并弹出一个 teensy 默认调试程序:

我们不用跳出来的这个小程序,点击勾勾旁边的右箭头,将程序上传到开发板中,上传成功后开发板会自动重连,输出你提前设计好的效果:
https://img.soapffz.com/archives_video/2018/12/18/archives_20181219_122003.mp4